Jupyter远程配置
- 操作环境:
- 主机1:Windows 10
- 主机2:Ubuntu 24.2
安装Jupyter
- 登录到主机2:其中,
1
ssh <username>@<IP addr>
<username>为主机2的用户名,<IP addr>为主机2的IP地址,随后输入主机2用户的密码即可登录到主机2 - 主机2切换到
conda环境:其中,1
conda activate <env_name>
<env_name>为你的conda环境的名称 - 安装
jupyter notebook,本案例安装版本为 7.x.x其中,1
pip install jupyter -i https://mirrors.tuna.tsinghua.edu.cn/pypi/web/simple
-i后面填入镜像源位置
配置Jupyter环境
- 生成Jupyter配置文件生成的配置文件的路径为
1
jupyter notebook --generate-config
<用户目录>/.jupyter/jupyter_notebook_config.py文件 - 编辑配置文件
1
2
3
c.ServerApp.allow_remote_access = True # 设置远程连接
c.ServerApp.port = 8888 # 设置端口号
c.ServerApp.root_dir = 'your jupyter home dir' # 进入jupyter的默认路径 - 设置Jupyter登录密码(此版本为7.x.x)之后输入密码即可
1
jupyter notebook passward
远程连接Jupyter服务器
- 启动主机2的Jupyter服务器
1
jupyter notebook
- 在主机1上使用SSH映射到主机2的Jupyter其中
1
ssh -N -f -L localhost:<host1 port>:localhost:<host2 port> <username>@<host2 IP Addr>
<host1 port>为主机1的任意端口,<host2 port>为主机2的Jupyter服务器的端口,<username>为主机2的用户名,<host2 IP Addr>是主机2的IP地址,映射完的窗口不要关 - 在主机1上访问上一步输入的
localhost:<host1 port>,输入设置的密码即可登录远程Jupyter服务器
配置Jupyter编辑器
菜单栏Setting >> Editor Setting勾选选项Show the documentation pannel(显示帮助文档),Enable autocompletion(代码自动补全)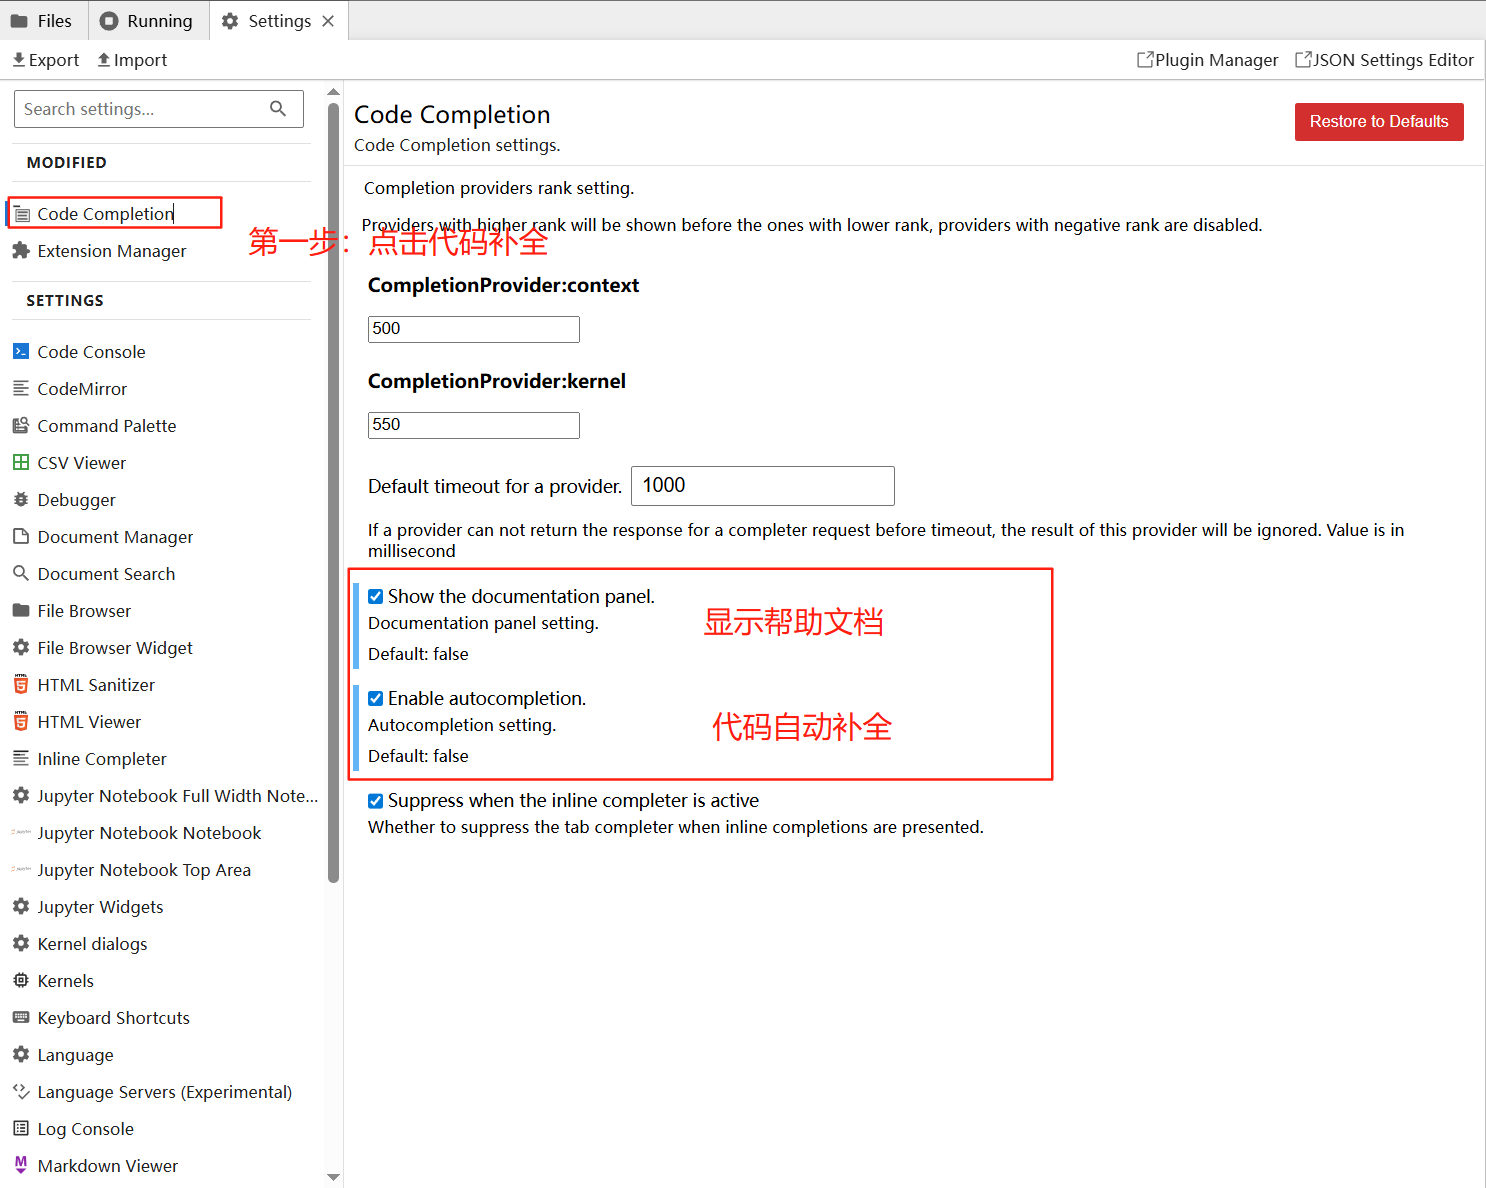
本博客所有文章除特别声明外,均采用 CC BY-NC-SA 4.0 许可协议。转载请注明来源 LinHao's Pages!